Setting up dual monitors isn’t complicated, but there’s more to it than just plugging in a second screen. Done right, a dual monitor arrangement transforms workflow, cuts down on window-juggling, and makes everything from spreadsheet work to design projects more efficient. Done wrong, it creates neck strain, cable chaos, and wasted desk space. This guide walks through choosing compatible monitors, mounting or positioning them correctly, managing cables like a pro, and setting up an ergonomic arrangement that actually works for the long haul.
Table of Contents
ToggleKey Takeaways
- A dual monitor home office setup delivers 20-30% productivity gains by eliminating window-switching and allowing simultaneous viewing of reference materials and active work.
- Match monitor sizes, resolutions, and panel types (ideally identical 27-inch 1440p IPS displays) to avoid visual distraction and ensure GPU compatibility before purchasing.
- Position monitors at eye level 20-30 inches away, tilted back 10-20 degrees and angled inward, with the primary monitor centered to minimize neck strain and eye fatigue.
- Invest in VESA-compatible monitor arms, quality DisplayPort/HDMI cables under 6 feet, and cable management accessories like trays and sleeves to maintain an organized, clutter-free workspace.
- Route cables through dedicated trays and clips rather than leaving them loose, which improves airflow, prevents accidental disconnections, and makes troubleshooting faster.
- Configure Windows 11 or macOS display settings to extend (not mirror) displays, then test window transitions between screens to ensure smooth alignment and consistent color reproduction.
Why a Dual Monitor Setup Transforms Your Home Office
Running two monitors side-by-side eliminates the constant alt-tabbing that slows down nearly every task. Research shows users experience productivity gains of 20-30% when adding a second screen, primarily because they can view reference material, email, or communication apps on one display while actively working on the other.
For anyone managing spreadsheets, code, design files, or research-heavy projects, the extra real estate is genuinely useful. Copywriters can keep source material visible while drafting. Data analysts can compare datasets without toggling windows. Video editors can preview timelines alongside effects panels.
The catch: a poorly arranged dual setup creates more problems than it solves. Monitors positioned too far apart force constant head-turning. Mismatched resolutions create visual inconsistency. Weak GPU performance causes lag. The benefits only materialize when the hardware, positioning, and cable management are dialed in correctly.
Choosing the Right Monitors for Your Workspace
Start by matching screen sizes and resolutions. Pairing a 27-inch 1440p monitor with a 24-inch 1080p display creates a visual mismatch that’s distracting. Ideally, both monitors should be identical models, same size, same resolution, same panel type (IPS, VA, or TN).
Screen size recommendations:
- 24-inch (1920×1080): Budget-friendly, fits smaller desks, adequate for general office work
- 27-inch (2560×1440): Sweet spot for most users, balances screen real estate with sharpness
- 32-inch (3840×2160): Premium option for creative work, requires robust GPU and deeper desk
Panel types matter. IPS panels offer wide viewing angles and accurate color, which is critical when viewing a side monitor at an angle. TN panels are cheaper but color shifts noticeably off-axis. VA panels split the difference with good contrast but slower response times.
Check refresh rates if gaming or video work is involved. Standard office use is fine at 60Hz, but creative professionals benefit from 75Hz or higher for smoother motion. According to hardware setup guides, mismatched refresh rates can cause visual stuttering when dragging windows between screens.
Connectivity matters. Verify your computer has enough video outputs, HDMI, DisplayPort, or USB-C with DisplayPort Alt Mode. Many laptops support only one external display via HDMI but can drive two via USB-C docking stations. Confirm your GPU supports dual displays: most modern integrated graphics (Intel UHD, AMD Radeon) handle two monitors at 1080p or 1440p without issue.
Essential Equipment and Accessories You’ll Need
Beyond the monitors themselves, a functional dual setup requires supporting hardware and mounts.
Monitor arms or stands:
- Desk-mounted monitor arms (VESA-compatible) free up desk space and allow precise height, tilt, and rotation adjustments. Most support monitors from 17 to 32 inches and up to 17.6 lbs per arm.
- Dual monitor stands (fixed or articulating) work if desk clamping isn’t an option. Look for models with height adjustment and cable routing channels.
- Verify your monitors have VESA mount patterns (typically 75×75mm or 100×100mm) on the back panel.
Cables and adapters:
- Use DisplayPort 1.4 or HDMI 2.0 cables for 1440p at 60Hz. For 4K displays, upgrade to HDMI 2.1 or DisplayPort 1.4.
- Keep cables under 6 feet to avoid signal degradation. Braided cables resist tangling and last longer than cheap rubber-coated versions.
- If your laptop has limited ports, invest in a USB-C docking station with dual video outputs. Models from Anker, CalDigit, or Plugable support two 4K displays via a single cable connection.
Power and surge protection:
- A 6-outlet surge protector with 1080-joule rating or higher protects against power spikes. Mount it under the desk or use a desk-edge clamp model.
Keyboard, mouse, and desk space:
- Dual monitors demand at least a 60-inch wide desk for comfortable positioning. An L-shaped desk setup provides extra surface area for peripheral equipment.
- Wireless keyboard and mouse eliminate cable clutter. Keep a wrist rest handy if typing for extended periods.
Step-by-Step Setup: Positioning and Connecting Your Monitors
1. Assemble monitor arms or stands
Follow manufacturer instructions. Most desk-clamp arms require a desk thickness between 0.4 and 3.9 inches. Tighten the clamp firmly but avoid overtorquing, which can crack laminate surfaces. If using a wooden desk, place a thin metal or hardwood plate between the clamp and surface to distribute pressure.
2. Attach monitors to arms
Remove factory stands by pressing release buttons or unscrewing four VESA screws on the monitor’s back. Align the VESA plate on the monitor arm with the mount points, then secure with included screws. Don’t mix screws from different kits, using screws that are too long can damage internal components.
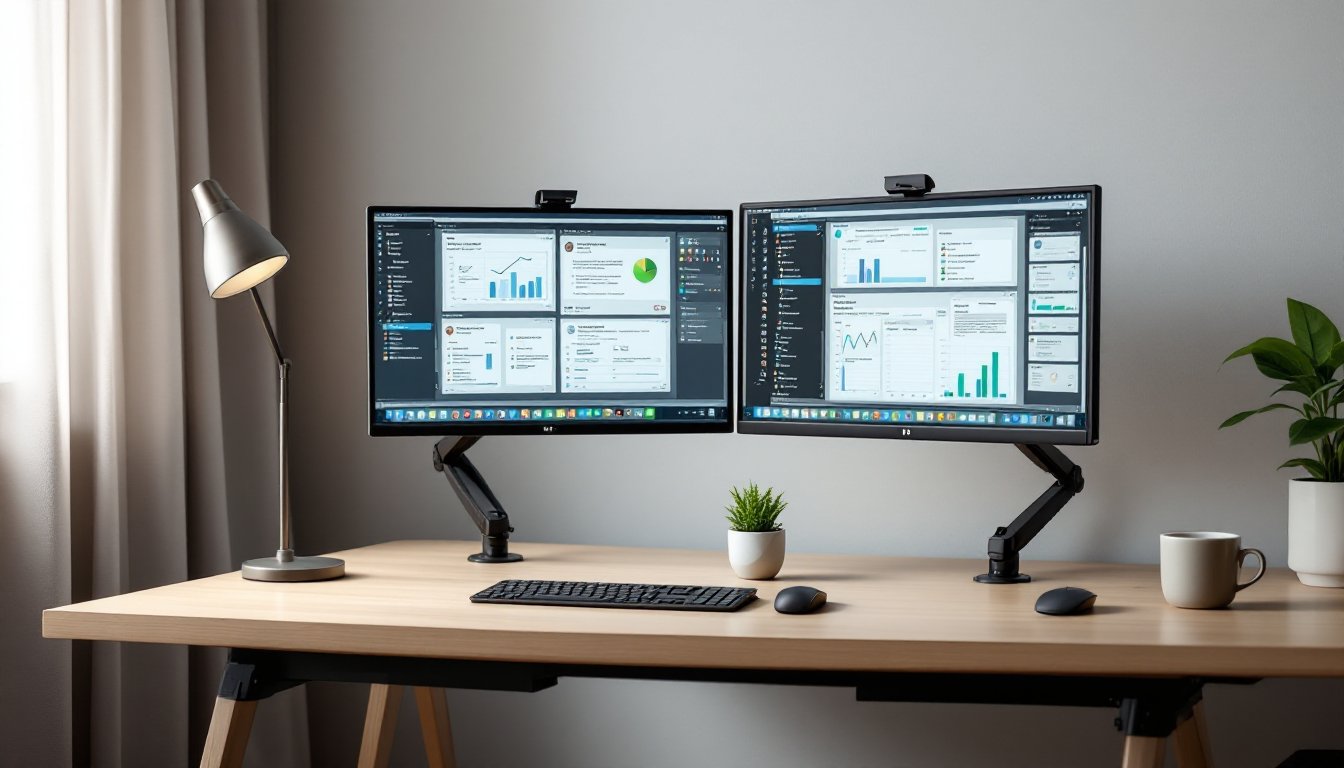
3. Position monitors symmetrically
Place both monitors side-by-side, angled slightly inward in a gentle arc. The gap between bezels should be minimal, 1/4 inch or less. If one monitor serves as the primary display, center it directly in front of the user and offset the secondary screen to the dominant-hand side (right for most people).
4. Connect video cables
Plug DisplayPort or HDMI cables into the GPU’s video outputs (not the motherboard ports, which route through integrated graphics with lower performance). Route cables through arm channels or use adhesive cable clips along the arm and desk edge.
5. Power on and configure displays
Boot the computer. Both monitors should be detected automatically. On Windows 11, right-click the desktop and select Display settings. Drag and arrange virtual monitor icons to match physical placement. Set the primary display, adjust scaling (100%, 125%, or 150% depending on screen size and resolution), and choose Extend these displays mode.
On macOS, open System Settings > Displays, click Arrange, and drag monitor icons to mirror physical layout. Uncheck Mirror Displays to enable extended desktop mode.
6. Test alignment and clarity
Drag a window slowly between screens. It should transition smoothly without jumping or resizing unexpectedly. If colors look different between monitors, use the built-in calibration tool (Windows: Settings > Display > Calibrate color: macOS: System Settings > Displays > Color Profile).
Ergonomic Best Practices for Dual Monitor Arrangements
Poor monitor positioning causes neck strain, eye fatigue, and shoulder pain. Follow these guidelines to avoid repetitive strain injuries.
Monitor height:
The top edge of each monitor should sit at or slightly below eye level when seated upright. For most users with standard office chairs, this places the center of the screen 15 to 20 inches below eye level. Adjust monitor arms or use risers to achieve proper height, avoid stacking books or boxes, which create instability.
Viewing distance:
Position monitors 20 to 30 inches from the eyes (roughly an arm’s length). Larger screens (27-inch and up) should sit at the farther end of this range to reduce eye strain. If squinting or leaning forward is necessary to read text, increase font size or adjust scaling rather than moving closer.
Angle and tilt:
Tilt each monitor back 10 to 20 degrees to reduce glare from overhead lighting. Angle side monitors inward slightly so the user faces the center point between both screens, minimizing neck rotation. Avoid positioning monitors directly under windows or bright ceiling lights.
Primary vs. secondary arrangement:
For users who favor one screen, position the primary display directly in front and the secondary at a 30 to 45-degree angle to the side. This reduces repetitive neck turning. Users who split time evenly between screens should center themselves between both monitors.
Lighting considerations:
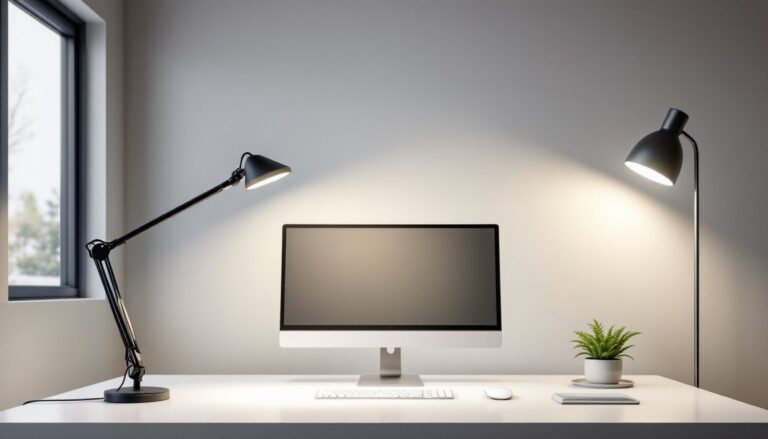
Ambient lighting should match the monitor’s brightness to reduce eye fatigue. Use bias lighting (LED strips behind monitors) to create even illumination. Position desk lamps to the side, never directly behind or in front of screens. When setting up a workspace, prioritize indirect natural light that doesn’t create glare.
PPE and breaks:
Wear blue-light filtering glasses during extended screen time to reduce eye strain. Follow the 20-20-20 rule: every 20 minutes, look at something 20 feet away for 20 seconds.
Cable Management and Desk Organization Tips
A clean cable setup isn’t cosmetic, it prevents accidental disconnections, improves airflow, and makes troubleshooting easier.
Under-desk cable trays:
Mount a wire mesh cable tray or J-channel raceway along the underside of the desk. Route power cables, video cables, and USB lines through the tray, securing them with reusable velcro straps (not zip ties, which are harder to adjust).
Cable sleeves and tubes:
Bundle vertical cable runs (from desk to floor or monitor arm to desk) inside neoprene cable sleeves or split loom tubing. This consolidates multiple cables into a single clean line and protects against abrasion.
Adhesive cable clips:
Use 3M adhesive cable clips along desk edges and monitor arm poles to guide individual cables. Space clips every 8 to 12 inches to prevent sagging.
Power strip placement:
Mount the surge protector under the desk using adhesive strips or screw-mount brackets. This keeps it accessible but out of sight. Label each plug with masking tape and a marker (“Monitor 1,” “Monitor 2,” “Dock”) for easier troubleshooting.
Cable length management:
Avoid excess cable by measuring the run before purchasing. If stuck with long cables, coil the excess neatly and secure with velcro straps, never tightly coil power cables, which can create electromagnetic interference.
Desk surface organization:
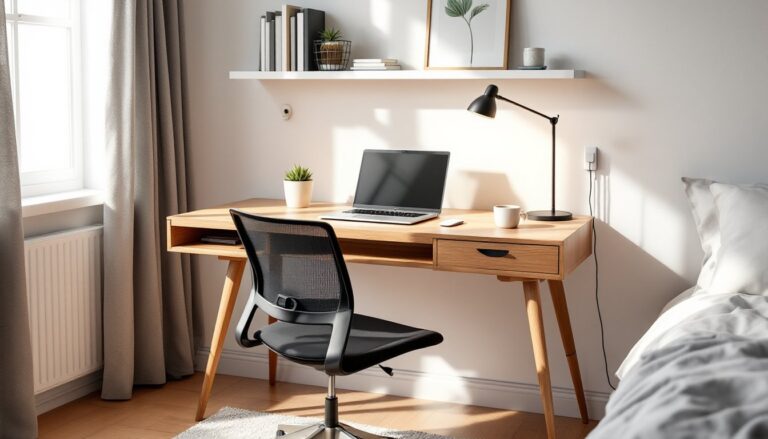
Keep the desk clear of clutter. Use a monitor stand with built-in storage or a small desk organizer tray for pens, notepads, and peripherals. A well-organized workstation reduces visual distraction and improves focus. For tight spaces, consider a compact corner setup that maximizes vertical storage.
Conclusion
A dual monitor setup done right delivers measurable workflow improvements, but only when components match, positioning is ergonomic, and cables are managed properly. Take time during the initial install to adjust heights, angles, and routing, it pays off in reduced fatigue and fewer distractions. Most issues come down to prep work: measuring desk space, confirming GPU compatibility, and choosing monitors that work together instead of fighting each other.